Maya Tran
May 7, 2026
•
14 min
.jpg)
Retool makes it dangerously easy to ship fast. You open an app, drag in a table, wire up a query, and your ops team is using it by lunch. That speed is the whole point — but it also means most teams skip the part where they build a real release process. Developers edit live apps. Test queries run against the production database. A client clicks a button during UAT and mutates real data. Nobody has a rollback plan because nobody thought they'd need one.
This post walks through how to set up a proper dev, staging, and production workflow in Retool — including how to configure environment-specific resources, how to structure your Supabase or Postgres databases across environments, and how to use Retool Releases and Source Control to control exactly what goes live and when.
Most teams start the same way. One developer builds the first Retool app, shares it with the team, and everyone loves it. Then a second developer gets access and starts tweaking it. Then a third. Nobody talks to each other. A query gets changed. A button gets rewired. Something breaks in production and nobody knows what changed or when.
Consider what's actually at stake when you edit a live Retool app:
Retool's environment model is built around two mechanisms: Resource Environments and App Releases.
Resources in Retool can have multiple environment configurations. Retool ships with three default environment slots: production, staging, and development. Each slot holds its own connection credentials. When a user opens a Retool app, the environment they're running in determines which version of each resource their queries hit. Same app, same query names, completely different backends.
Retool's Releases feature lets you explicitly version and promote apps between environments. Instead of a single live app that anyone can edit at any time, you get a current draft (where development work happens), a staging release (a locked snapshot for testing), and a production release (the version your end users see). Releases are snapshots. Promoting to production pushes a specific, tested, named version. You can roll back to a previous release in a few clicks.
On top of Releases, Retool offers Source Control integration with GitHub, GitLab, and Bitbucket. Source Control lets you commit app state to a Git repository, enabling code review workflows, pull requests before promotion, and a full audit trail outside of Retool's own history.
Navigate to Resources → New Resource and create your resource. After it's created, open it. You'll see an environment selector at the top — Production, Staging, and Development. Each one is independently configurable. For a Postgres or Supabase resource, this means three different connection strings pointing to three different databases.
Don't create three separate Retool resources named my_db_dev, my_db_staging, and my_db_prod. That's the wrong pattern. Use one resource, three environment configs.
For external APIs, create separate API keys per environment if the service supports it. Don't use your production API key in development. If a developer makes a bad call against a test key, the worst case is a failed test transaction. The same call against your live Stripe key means issuing refunds and writing incident reports.
Retool's Secret Manager lets you store credentials centrally and reference them across resources without hardcoding values. Individual developers don't need to know the production database password. They access resources through Retool, Retool holds the secret, and permissions control what they can actually do.
Your queries should be environment-agnostic — GET /orders/{{orderId}} — not GET {{env === 'prod' ? 'https://api.prod.com' : 'https://api.staging.com'}}/orders/{{orderId}}. The latter is a maintenance nightmare. Use Retool's environment configurations to set base URLs explicitly.
The most common mistake is using a single Supabase project with three schemas: dev, staging, and prod. Don't do this. Schemas within a single project share compute, share connection limits, share backups, and share billing. A runaway query in dev can degrade production.
The correct approach is three separate Supabase projects — one per environment. Each project has its own compute, its own connection pooler, its own API keys, and its own backup schedule. They're completely isolated. A developer can nuke the dev project and it doesn't touch staging or production.
Use Supabase CLI migrations. Every schema change — new table, new column, new index, new RLS policy — gets written as a migration file. That migration gets applied to dev first, tested, then applied to staging, tested again, then applied to production as part of your promotion workflow. Never apply migrations directly to production from your local machine.
Your staging database should have realistic data — realistic volume, realistic structure, realistic edge cases. But it should not have real user data. If you're copying production data to staging for testing, you need to anonymize it first. Fake names, scrambled emails, nulled phone numbers. Dev can run on minimal seed data — just enough to exercise your Retool app logic.
Keep your migration files as the source of truth for RLS policies. If a policy needs to change, it changes in a migration file, it goes through dev and staging, and it lands in production the same way every other schema change does. No ad-hoc policy editing in the Supabase dashboard for production tables.
Developers work in the Retool editor draft against the development resource environment. When a feature is ready, a staging release is created and the app is tested against the staging resource environment. After sign-off, the staging release is promoted to production, which flips end users to the new version running against the production resource environment.
In Retool's permission settings, restrict edit access to apps. Only developers should be able to edit. Ops leads and stakeholders get viewer access. Nobody gets to click into an app and start changing queries in production.
Set your developer group to run in the development environment by default. Set your end users to run in production. This means developers testing their own work naturally hit the development database without having to think about it, and users are always on the production resource.
If you're on a plan with Source Control, connect your Retool organization to a GitHub repository. When a developer finishes work on a Retool app, they commit the current state and open a pull request. A second developer reviews the diff. Retool's JSON diffs aren't the prettiest reading, but they make change reviews possible.
When development is complete and the code review is done, create a staging release in Retool. Go to the app, click Releases, and create a new release targeting the staging environment. Name it something meaningful — v1.4-order-status-column beats release-2024-03-15. Your tester opens the app in the staging environment, tests against staging data, and exercises every workflow the change touches. If something breaks, the developer fixes it in the draft and cuts a new staging release. You don't promote to production until staging passes.
Looking to supercharge your operations? We’re masters in Retool and experts at building internal tools, dashboards, admin panels, and portals that scale with your business. Let’s turn your ideas into powerful tools that drive real impact.
Curious how we’ve done it for others? Explore our Use Cases to see real-world examples, or check out Our Work to discover how we’ve helped teams like yours streamline operations and unlock growth.
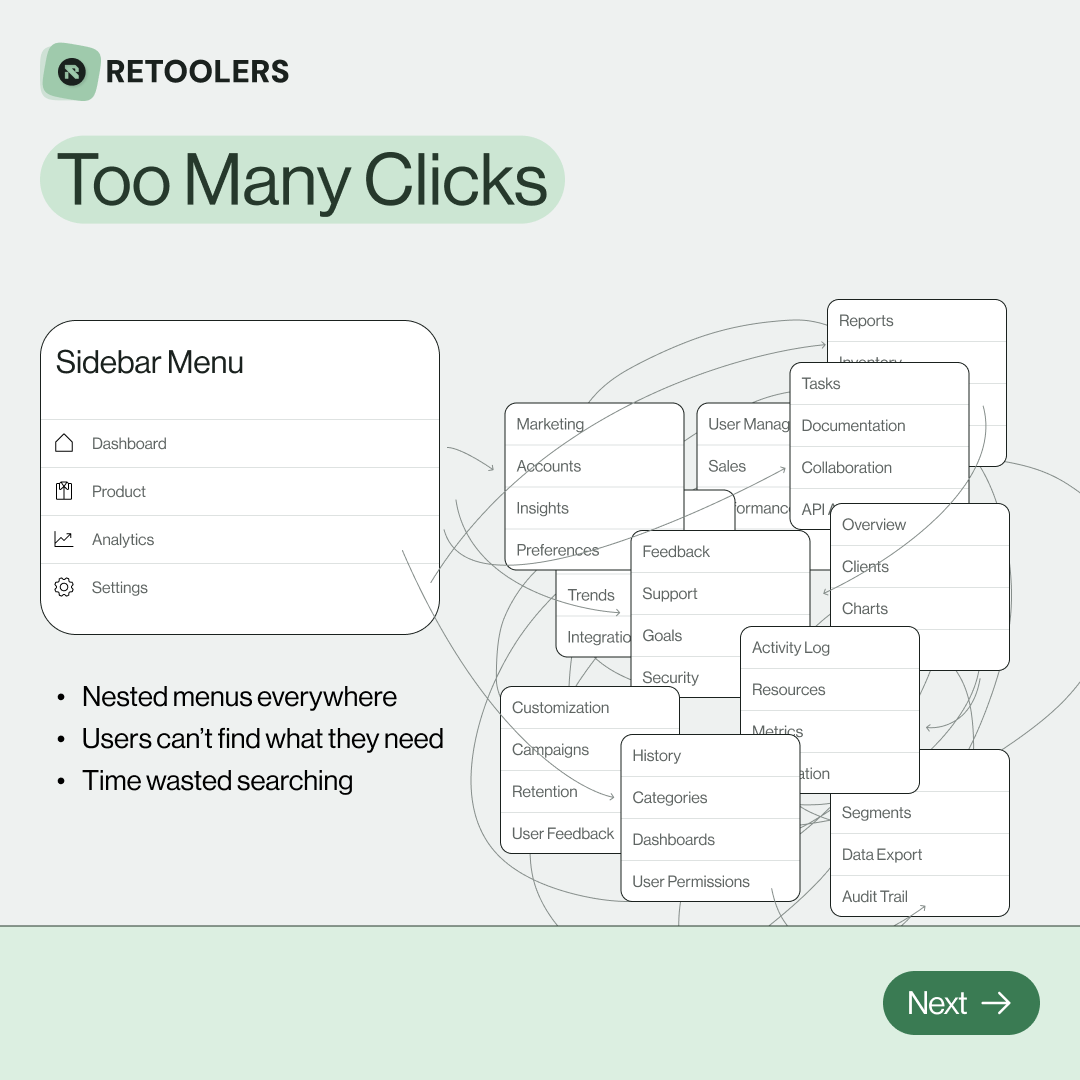
🔎 Internal tools often fail because of one simple thing: Navigation.
Too many clicks, buried menus, lost users.
We broke it down in this 4-slide carousel:
1️⃣ The problem (too many clicks)
2️⃣ The fix (clear navigation structure)
3️⃣ The Retool advantage (drag-and-drop layouts)
4️⃣ The impact (happier teams)
💡 With Retool, you can design internal tools that are easy to use, fast to build, and simple to maintain.
👉 Swipe through the carousel and see how better UX = better productivity.
📞 Ready to streamline your tools? Book a call with us at Retoolers.
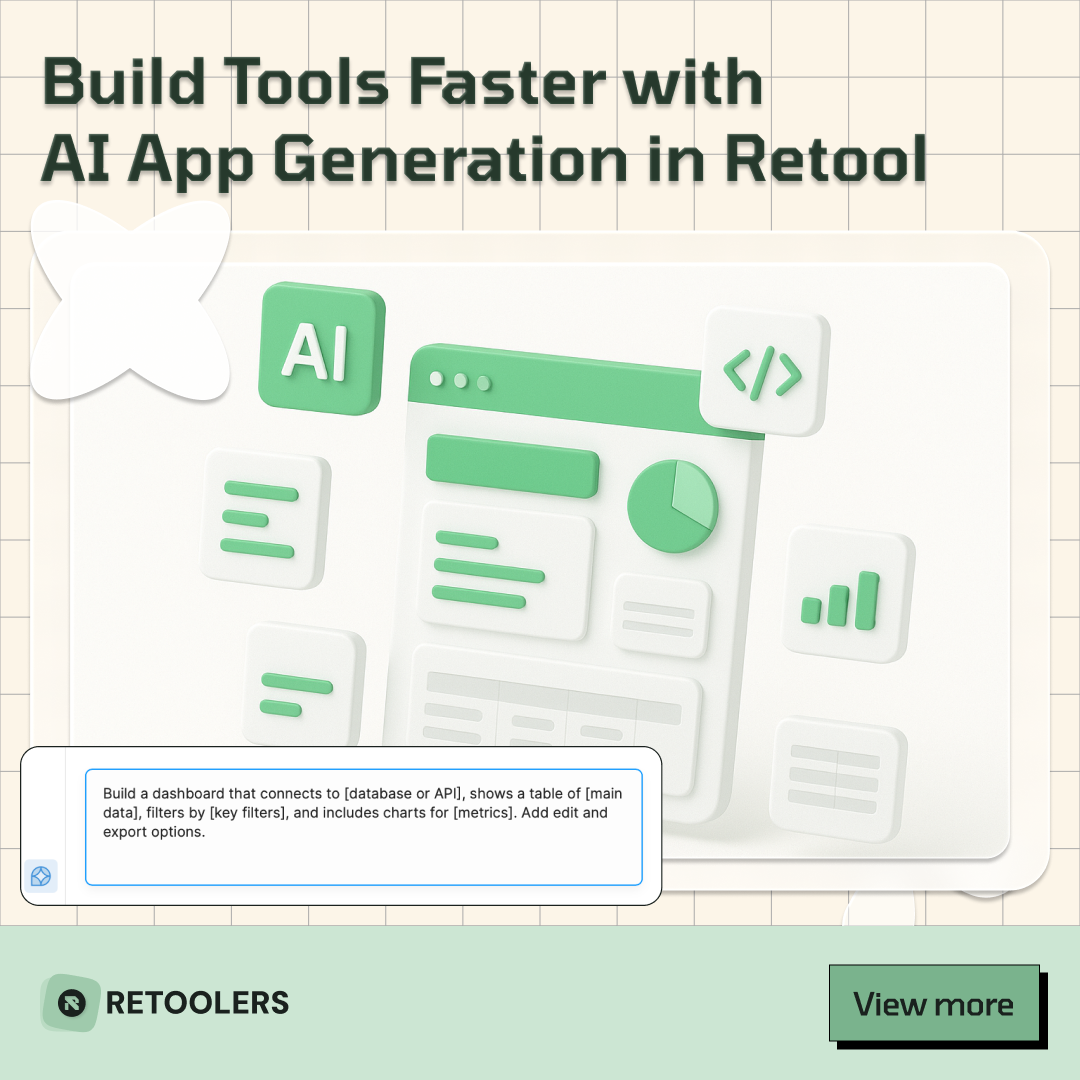
🚀From idea → app in minutesBuilding internal tools used to take weeks.
Now, with AI App Generation in Retool, you can describe what you want in plain English and let AI do the heavy lifting.
At Retoolers, we help teams move faster by combining AI + Retool to create tools that actually fit their workflows.
👉 Check out our blog for the full breakdown: https://lnkd.in/gMAiqy9F
As part of our process, you’ll receive a FREE business analysis to assess your needs, followed by a FREE wireframe to visualize the solution. After that, we’ll provide you with the most accurate pricing and the best solution tailored to your business. Stay tuned—we’ll be in touch shortly!