
Duy Vu
September 25, 2025
•
20 mins read

In today’s data-driven enterprise, internal tools are indispensable. They empower teams from sales to support, finance to HR, to manage critical business processes. But as these tools become more central and handle increasingly sensitive data—be it customer CRM records, financial figures, or confidential HR information—a critical challenge emerges: how do you ensure that only the right people see the right data and can perform the right actions?
Manually managing permissions for dozens or hundreds of users across multiple applications is not only a nightmare for your IT and security teams but also a major compliance risk. The struggle to consistently ensure that a Customer Support Agent can see full customer details, while a Sales Manager only sees contact info for their own region, and auditors can only view specific reports without editing anything, is real. This manual approach is prone to errors, leads to audit headaches, and ultimately undermines trust in your data security.
The solution lies in implementing Role-Based Access Control (RBAC) that scales with your organization. This means designing permission layers that are dynamic, secure, and seamlessly integrated into your internal tools.
In this guide, we'll walk you through how to design and implement secure RBAC in Retool. You'll learn how to build applications that automatically adjust their interface and data based on the logged-in user's role, ensuring compliance and peace of mind.
The cornerstone of scalable RBAC is to manage user roles in one authoritative place: your Identity Provider. Retool integrates seamlessly with major IdPs via SCIM and SAML, allowing you to automatically sync users and their group/role memberships into Retool. This eliminates duplicate role management and ensures that changes in your IdP are immediately reflected in Retool.
Retool_Admin, Retool_Finance_Analyst, Retool_Sales_Rep). Assign users to these groups.Retool_Finance_Analyst IdP group can be mapped to a Finance Analysts group in Retool.Now, when a user logs into Retool, their group memberships (and thus their roles) are automatically recognized by Retool. These groups become the foundation for our dynamic permission layers within your applications.
The simplest yet most impactful way to enforce RBAC is to dynamically adjust the user interface. A "Delete User" button for an admin, a restricted "Download All Data" button for an auditor, or a specific data input field for a manager should only appear for authorized roles.
Every component in Retool has an Hidden property in its Inspector panel. This property accepts JavaScript, allowing you to create conditional logic.
Let's assume you have a "Delete User" button (deleteUserButton) and you only want users in the Retool_Admin group to see it.
deleteUserButton component.{{ !retoolContext.user.groups.includes('Retool_Admin') }}retoolContext.user.groups: This global variable contains an array of all groups the current logged-in user belongs to..includes('Retool_Admin'): This checks if the user's groups array contains the string 'Retool_Admin'.!: The exclamation mark negates the result. So, if the user is not an Admin, the button will be hidden (true). If they are an Admin, it will not be hidden (false).You can extend this to hide entire containers, specific input fields, or even descriptive text based on a user's role.
Beyond just hiding components, you'll often need to filter the actual data a user can see. A Sales Rep should only see their assigned leads, while a Finance Analyst might only see transactions above a certain value or from specific departments.
This is typically done at the query level, ensuring unauthorized data is never even fetched for display.
Let's say you have a table (leadsTable) displaying leads, and you want sales reps to only see leads assigned to them. Assuming your get_leads query fetches data from a database with an owner_email column:
get_leads query.WHERE clause (for SQL) or a filter parameter (for APIs) that dynamically checks the user's email.SELECT * FROM leads WHERE {{ retoolContext.user.groups.includes('Retool_Sales_Rep') ? 'owner_email = \\'' + retoolContext.user.email + '\\'' : '1=1' }}WHERE owner_email = 'user@example.com'.WHERE 1=1, which effectively returns all leads, allowing other roles to see all data (or you could adjust this to restrict them further).Sometimes, a button needs to be visible to some users (e.g., a "Modify Record" button), but only certain roles should be able to perform the underlying action (e.g., actually saving changes).
You can disable buttons or conditionally run queries based on user roles.
Similar to hiding, you can disable a button. For a "Submit Changes" button (submitChangesButton):
submitChangesButton.{{ !retoolContext.user.groups.includes('Retool_Manager') }}Even if a button is accidentally enabled, you can add a final layer of security to the query itself.
update_user_status_query).{{ retoolContext.user.groups.includes('Retool_Admin') }}By implementing these scalable RBAC strategies in Retool, you achieve:
Implementing robust Role-Based Access Control in Retool isn't just a best practice; it's a fundamental requirement for building enterprise-grade internal tools that protect your data and scale with your organization.
Stop battling manual permission spreadsheets and start building secure, compliant internal tools today.
Looking to supercharge your operations? We’re masters in Retool and experts at building internal tools, dashboards, admin panels, and portals that scale with your business. Let’s turn your ideas into powerful tools that drive real impact.
Curious how we’ve done it for others? Explore our Use Cases to see real-world examples, or check out Our Work to discover how we’ve helped teams like yours streamline operations and unlock growth.
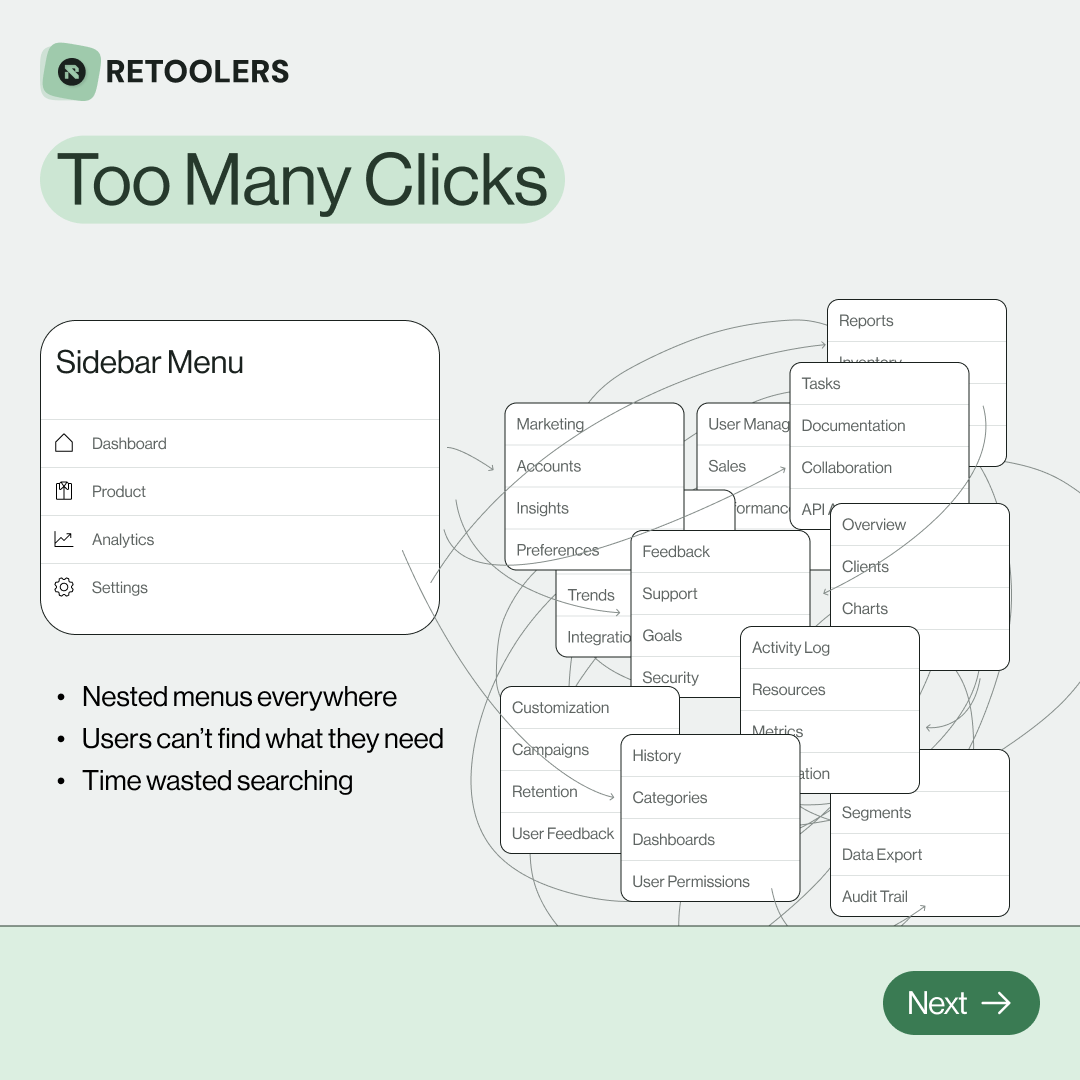
🔎 Internal tools often fail because of one simple thing: Navigation.
Too many clicks, buried menus, lost users.
We broke it down in this 4-slide carousel:
1️⃣ The problem (too many clicks)
2️⃣ The fix (clear navigation structure)
3️⃣ The Retool advantage (drag-and-drop layouts)
4️⃣ The impact (happier teams)
💡 With Retool, you can design internal tools that are easy to use, fast to build, and simple to maintain.
👉 Swipe through the carousel and see how better UX = better productivity.
📞 Ready to streamline your tools? Book a call with us at Retoolers.
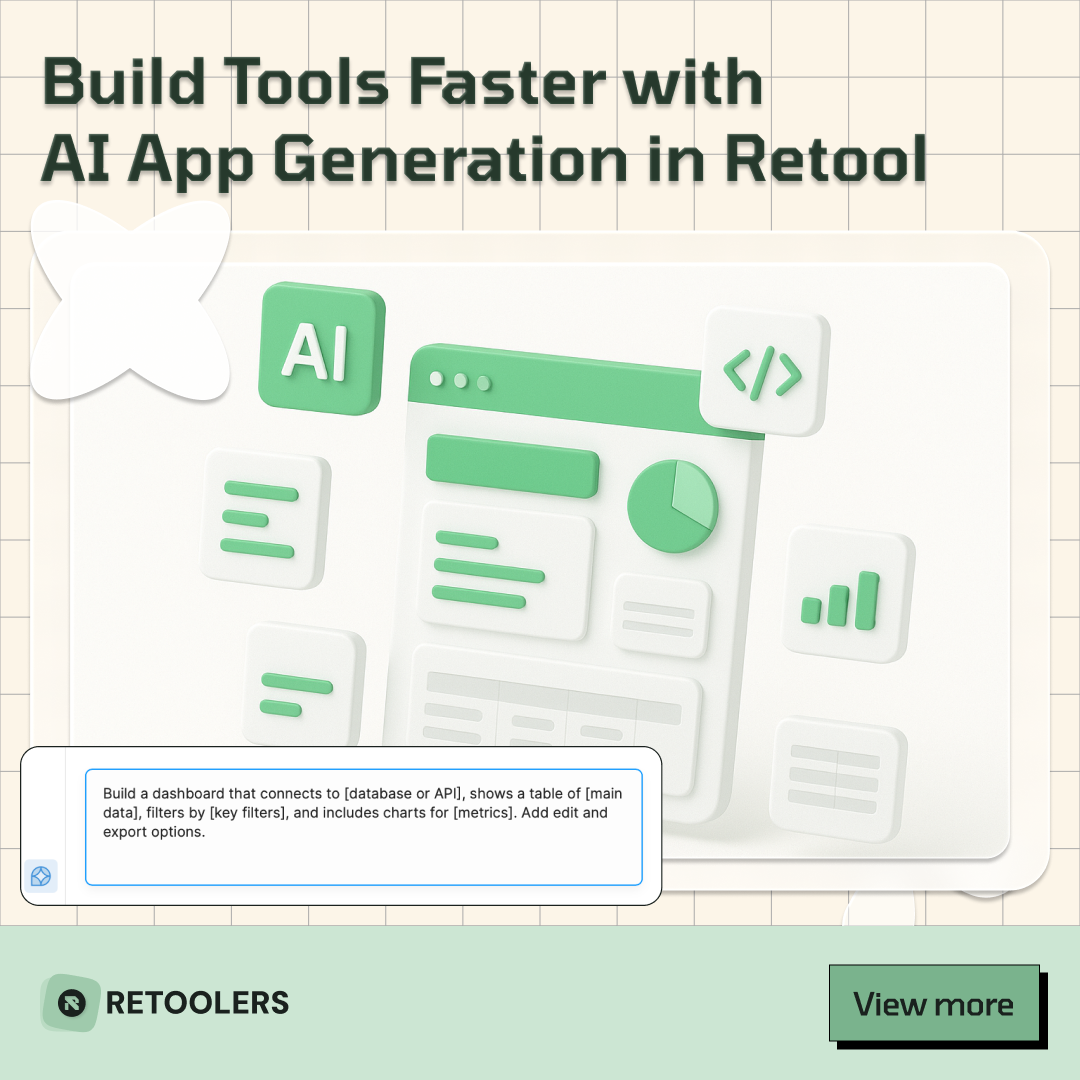
🚀From idea → app in minutesBuilding internal tools used to take weeks.
Now, with AI App Generation in Retool, you can describe what you want in plain English and let AI do the heavy lifting.
At Retoolers, we help teams move faster by combining AI + Retool to create tools that actually fit their workflows.
👉 Check out our blog for the full breakdown: https://lnkd.in/gMAiqy9F
Before we quote, we help you clarify the workflow. Share your idea, process, or existing tools, and we’ll map the key requirements, suggest the right system, and create a free wireframe so you can see the solution before development starts.


